One Click Deployments with Arlink

Introduction
In the previous guides in this series, we've used a CLI tool called permaweb-deploy to configure and host decentralised apps on ar.io.
In this guide we'll be using Arlink, a visual, web-based platform for hosting decentralised apps on ar.io without needing command-line tools.
It offers automated builds, GitHub integration, and seamless ArNS management through an intuitive interface.
New to decentralised apps?
Check out the series introduction to learn how ar.io enables permanent, decentralised hosting with 100+ independent gateways.
What You'll Learn
- Deploying with Arlink - Using the visual web interface for deployments
- GitHub integration - Setting up automated deployments from your repository
- ArNS setup - Connecting your ArNS name or using free Arlink undernames
- Build monitoring - Tracking deployment progress with live logs
- When to use Arlink - Understanding limitations and choosing the right tool
What is Arlink?
Arlink is a web-based deployment platform that simplifies hosting applications on Arweave. It provides a visual interface for developers who prefer graphical tools over command-line interfaces, while maintaining the same permanence and decentralization benefits.
Key Features:
- Visual Interface - No command-line knowledge required
- Automated Builds - Auto-detects build settings and handles the entire build process
- GitHub Integration - Deploy directly from your repositories with continuous deployment
- Real-Time Monitoring - Live build logs and progress tracking
- ArNS Management - Connect existing ArNS names or use free Arlink undernames
CLI vs Web Interface
All applications that can be deployed with permaweb-deploy CLI can also be deployed with Arlink. Choose the tool that fits your workflow:
- Arlink: Visual workflows, quick deployments, smaller projects (under 10MB)
- permaweb-deploy: CI/CD pipelines, large applications, custom automation
See Limitations & Considerations below to help decide.
Prerequisites
Before deploying with Arlink, you'll need:
- Arweave Wallet - Create one at Wander and add AR tokens or Turbo credits
- GitHub Repository - Your application code in a GitHub repository with build scripts
- Static Build Output - Application must build to static files (HTML, CSS, JS)
- Optional: ArNS Name - Purchase at arns.app or use free Arlink undernames
Test your build locally (npm run build) before deploying to ensure it produces static output.
Deployment Methods
Arlink offers two main deployment approaches:
- GitHub Deploy - Connect your repository for automated builds with continuous deployment
- Template Hub - Start with pre-built templates or add your own at arlink.ar.io/templates
This guide focuses on GitHub deployment, which is the most common approach for custom applications.
Deploying from GitHub
The deployment process consists of four main phases. For detailed step-by-step instructions, see the Arlink Quickstart Guide.
1. Connect & Authorize
Navigate to the Arlink Dashboard and connect your Arweave wallet (Wander). Then authorize GitHub access to enable repository connections.
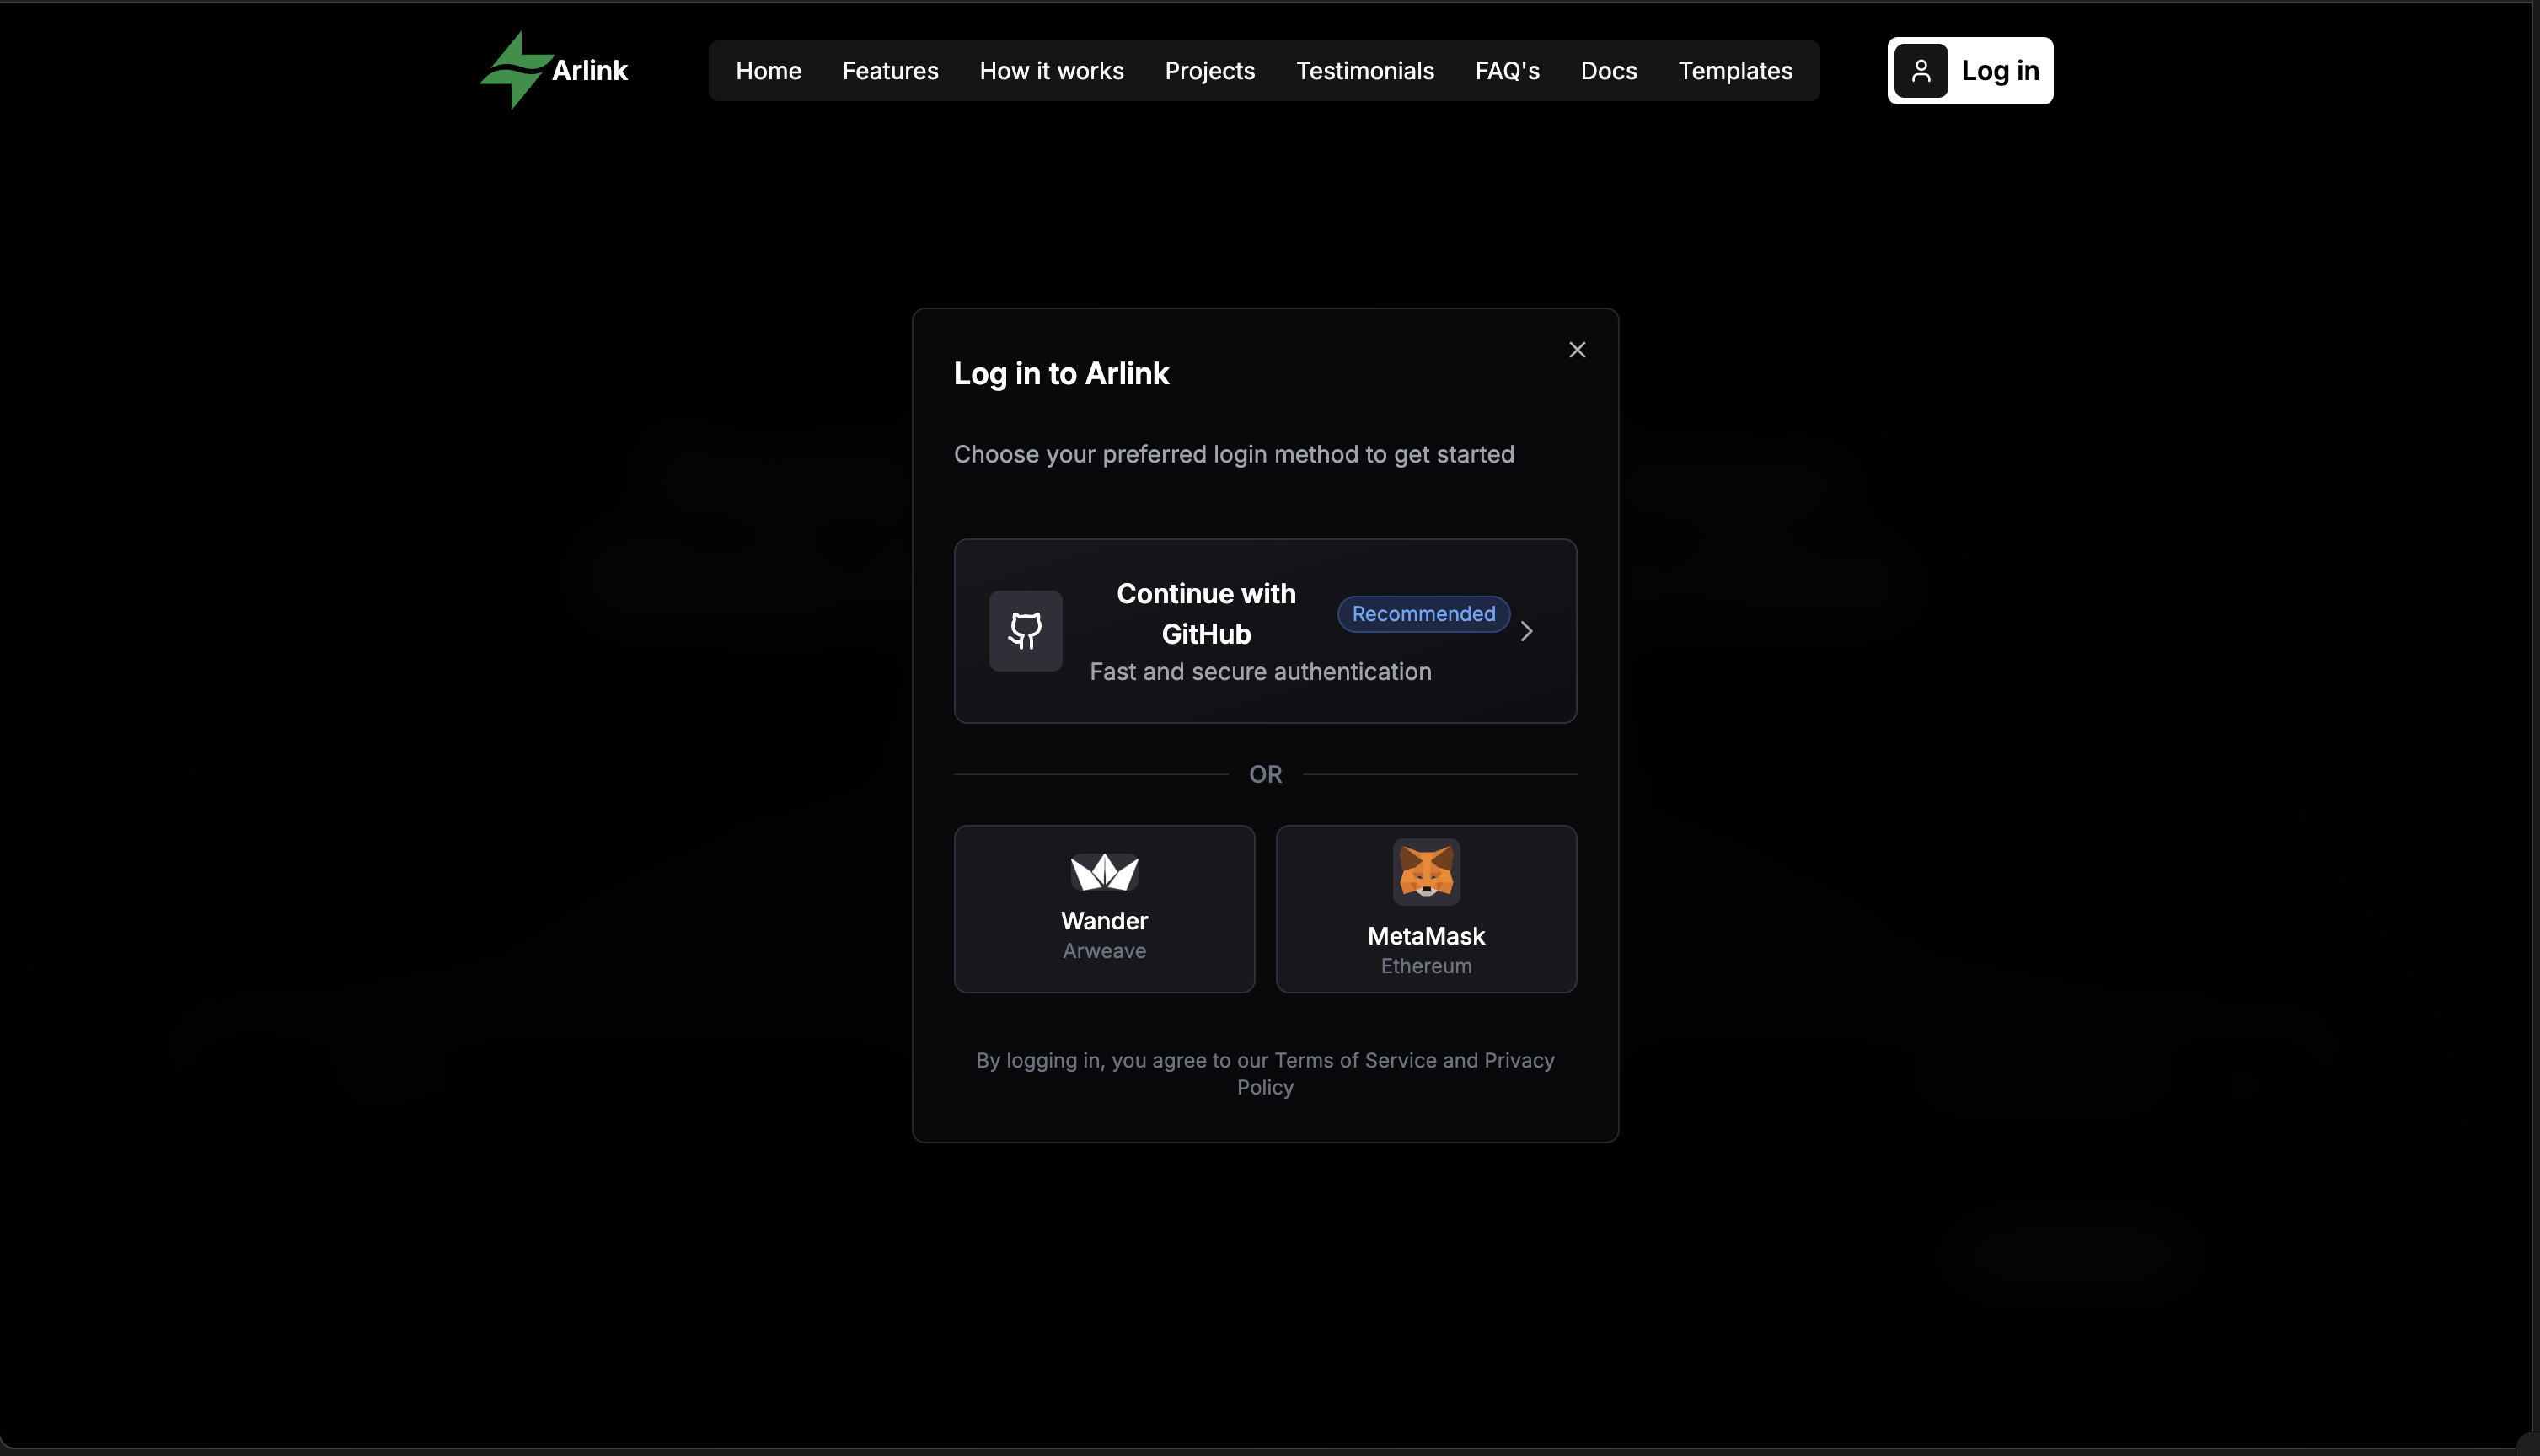
Arlink only requests read access to your repositories and webhook permissions for continuous deployment.
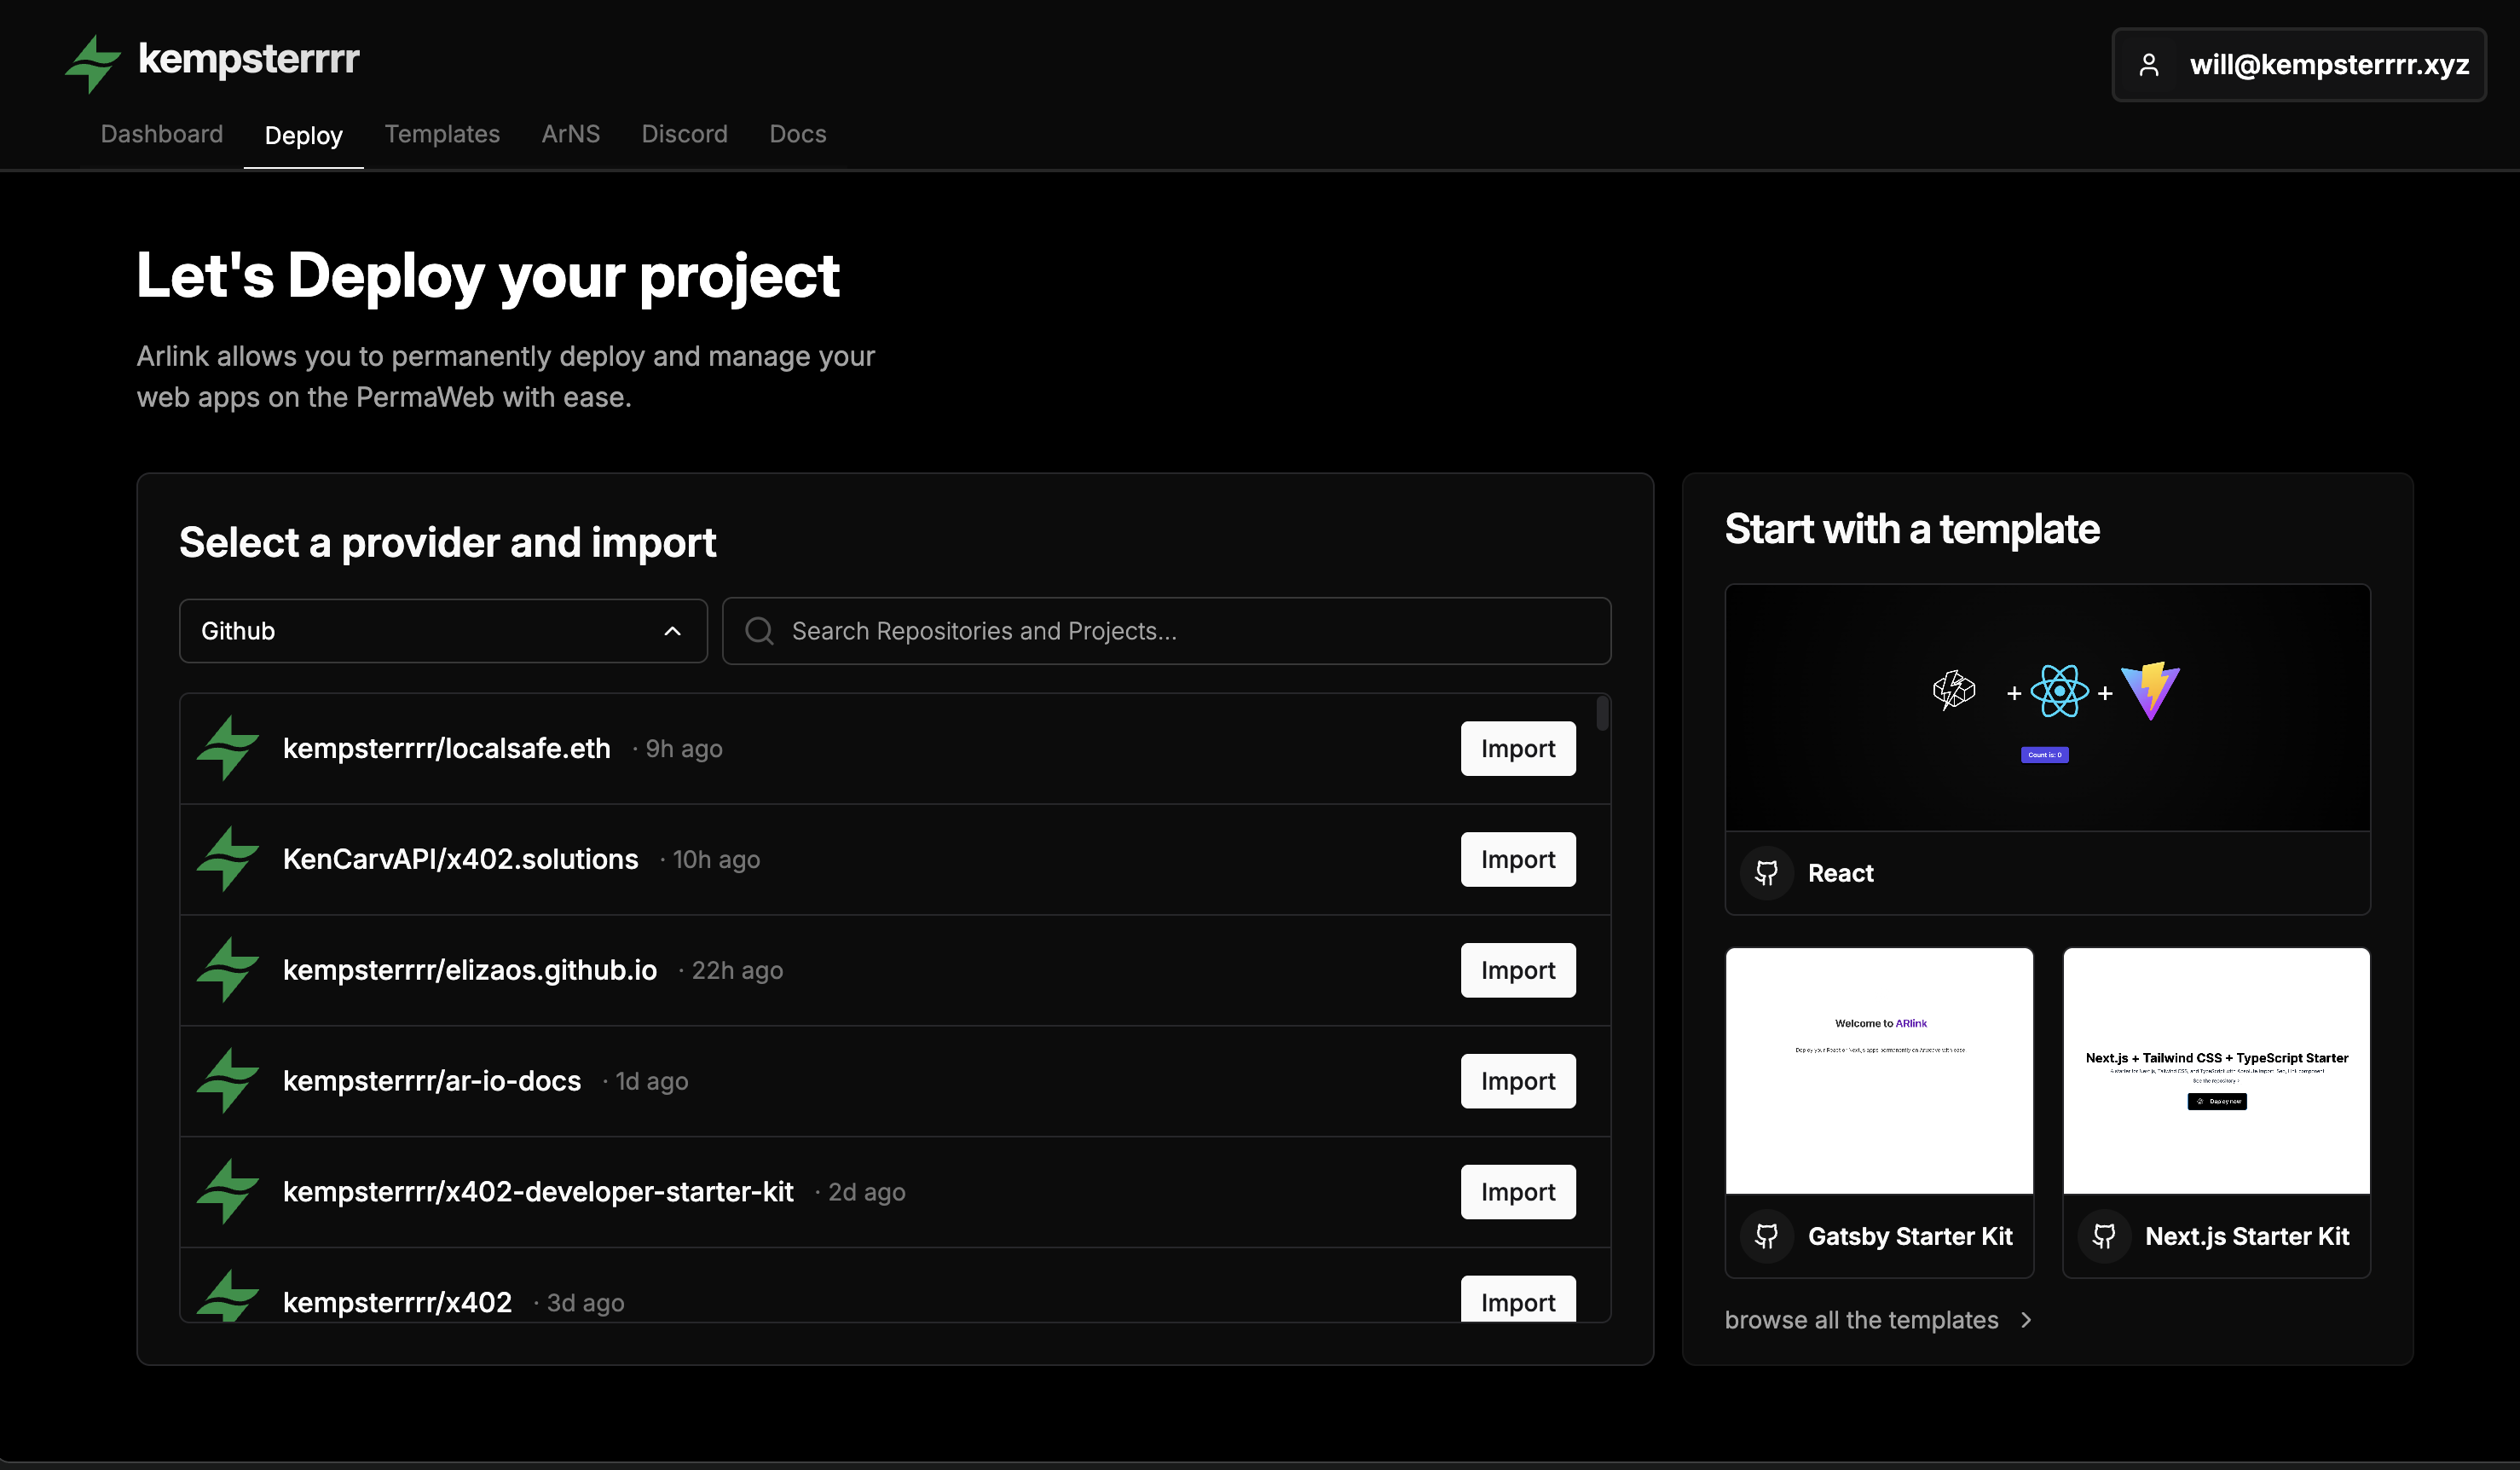
2. Configure Deployment
Select your GitHub repository and branch. Arlink will automatically detect:
- Package Manager - npm, yarn, or pnpm
- Framework - React, Next.js, Vue, Astro, etc.
- Build Command - Usually
npm run build - Output Directory -
dist/,build/,out/, etc.
Review the auto-detected settings and adjust if needed. Ensure your output directory matches your framework:
| Framework | Output Directory | Notes |
|---|---|---|
| Vite/React | dist/ | Default configuration |
| Next.js | out/ | Requires output: 'export' in config |
| Astro | dist/ | Static by default |
| Create React App | build/ | Default configuration |
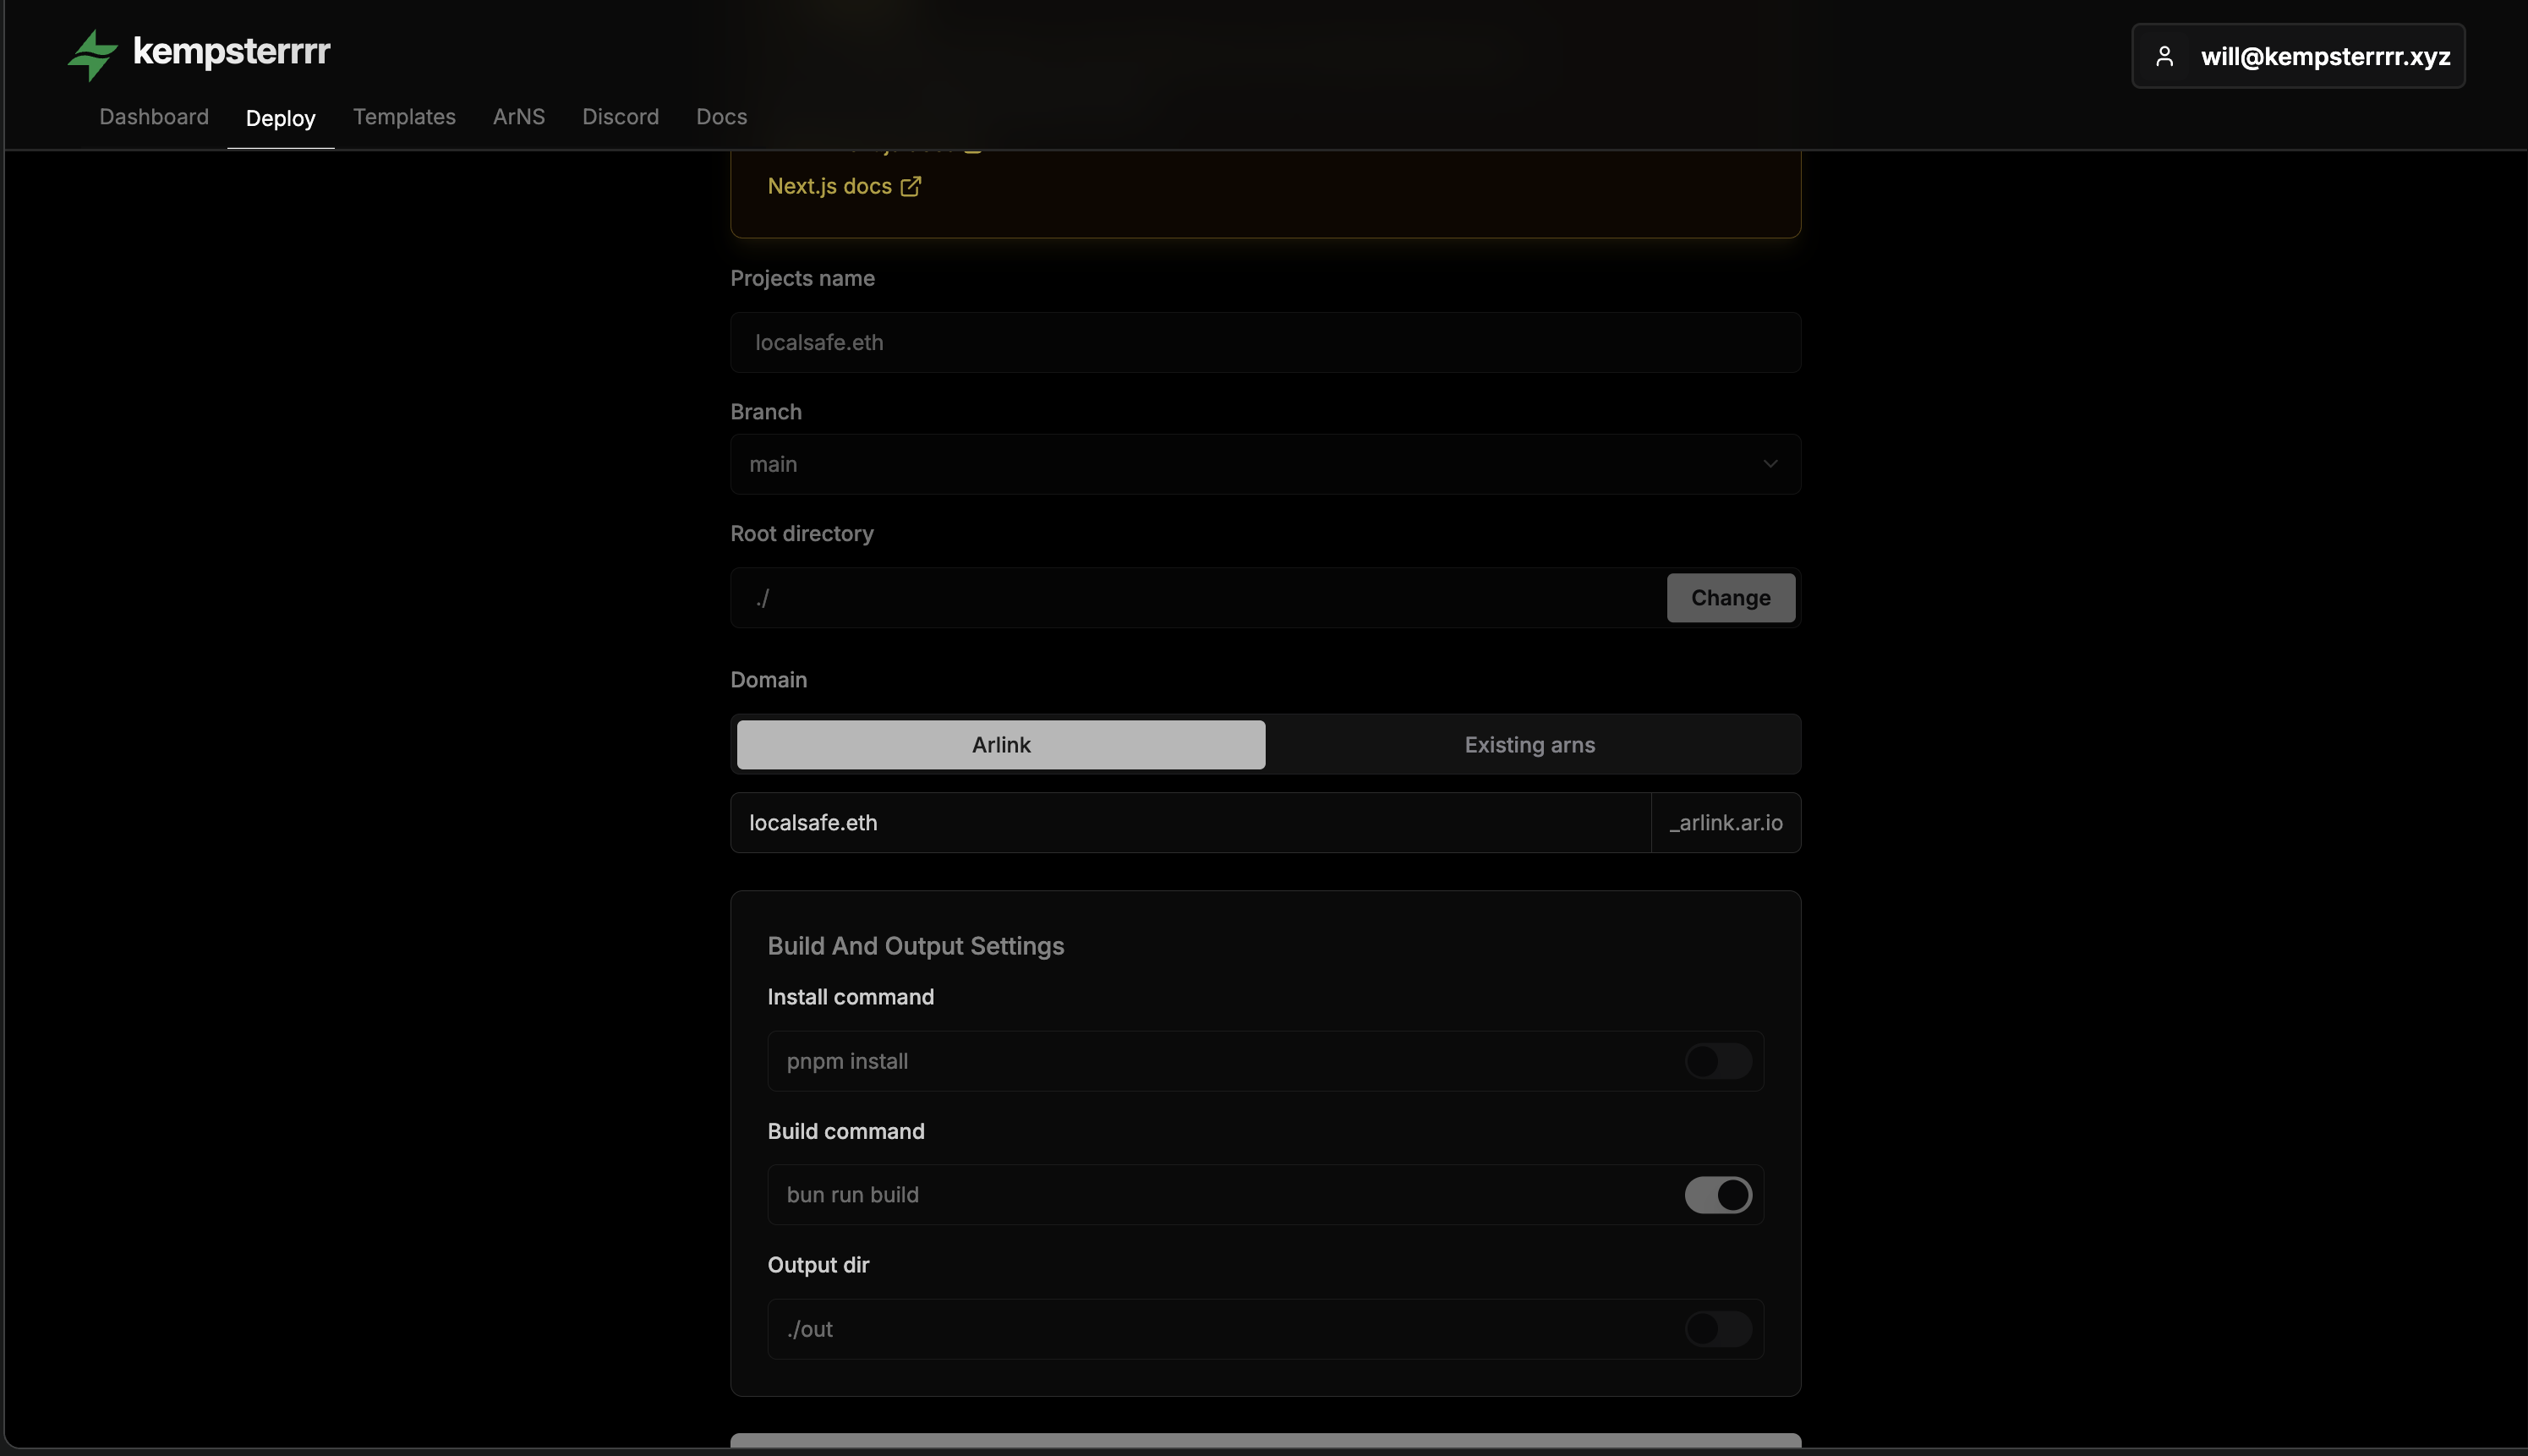
3. Choose Domain
Select how your application will be accessible:
Free Arlink Undername:
- Format:
yourname_arlink.arweave.net - No ArNS name purchase required
- Available immediately
Existing ArNS Name:
- Use your purchased ArNS name (e.g.,
myapp.arweave.net) - Optionally add undernames (e.g.,
staging_myapp.arweave.net) - Arlink automatically updates ArNS records
4. Deploy & Monitor
Click Deploy to start the build process. Arlink will clone your repository, install dependencies, build your application, and upload to Arweave.

Build Timeline:
- Small apps (~1MB): 2-3 minutes
- Medium apps (1-5MB): 3-5 minutes
- Large apps (5-10MB): 5-10 minutes
Build Limits
Arlink enforces a 10MB max build output and 10-minute build timeout. For larger applications, use permaweb-deploy CLI instead.
Once complete, your application is permanently deployed and accessible via:
- Your chosen domain (e.g.,
myapp_arlink.arweave.net) - Any ar.io gateway (e.g.,
myapp_arlink.g8way.io) - Direct transaction ID
ArNS Integration
Arlink offers two domain options for your deployments:
Free Arlink Undernames
Arlink provides free subdomains under the arlink ArNS name:
- Format:
yourname_arlink.arweave.net - Cost: Free (no ArNS purchase required)
- Availability: Instant, accessible via all ar.io gateways
- Limitation: Must be unique across all Arlink deployments
Existing ArNS Names
Connect your owned ArNS names for custom domains:
- Select your ArNS name from the dashboard dropdown
- Optionally add undernames for versioning (e.g.,
staging_myapp,v1_myapp) - Arlink automatically updates ArNS records on deployment
Undernames use underscore separators: staging_myapp not staging.myapp. See Using Undernames for Versioning for versioning strategies.
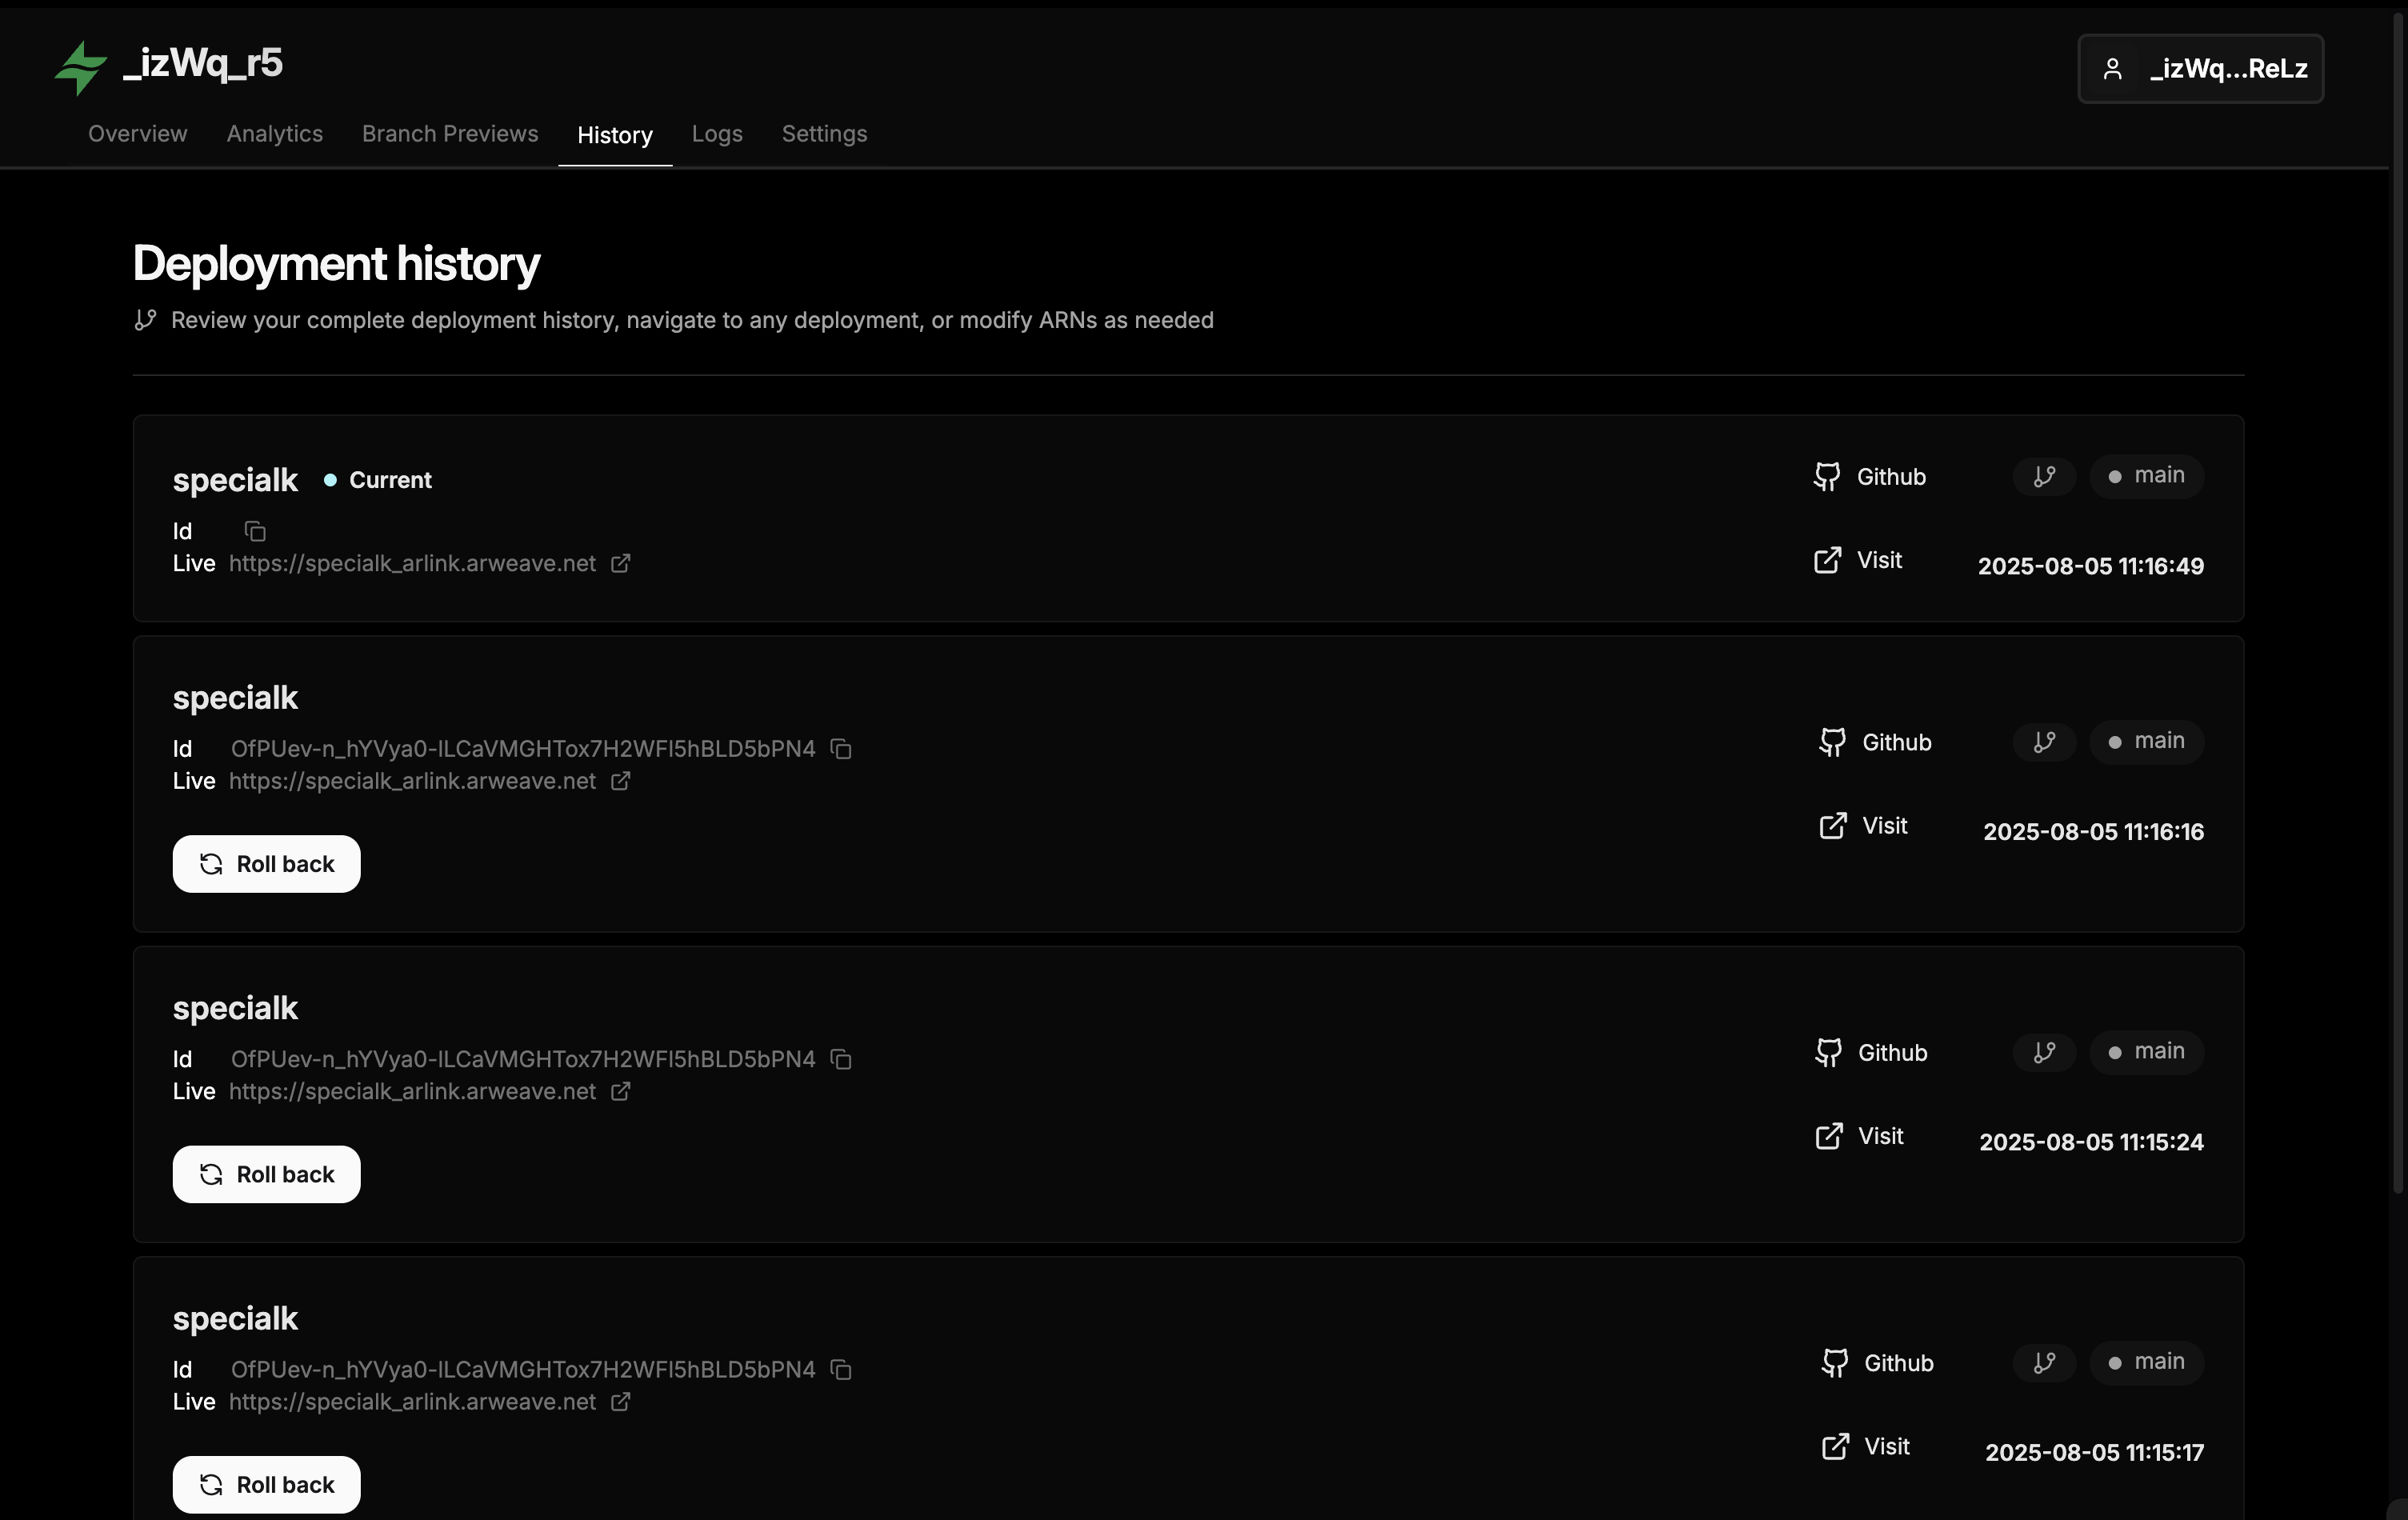
Deployment Management:
The Arlink dashboard lets you view deployment history, manage undernames, and rollback to previous deployments by updating which transaction ID your ArNS name points to.
Limitations & Considerations
Understanding Arlink's limitations helps you choose the right deployment tool for your project.
Size and Time Constraints
| Constraint | Limit | Impact |
|---|---|---|
| Max Build Output | 10 MB | Applications larger than 10MB cannot be deployed |
| Build Timeout | 10 minutes | Complex builds exceeding 10 minutes will fail |
| Deployment Cost | Subsidized (beta) | Pricing may change after beta period |
Build Size Limit
The 10MB limit applies to your build output, not your source code. Check your build size with:
npm run build
du -sh dist/  # or build/, out/, etc.
If your build exceeds 10MB, use permaweb-deploy CLI instead.
Comparison: Arlink vs permaweb-deploy CLI
Choose the right tool for your use case:
Use Arlink When...
You prefer visual interfaces over command-line tools, your build output is under 10MB, you want automated GitHub deployments, you need quick one-off deployments, you want to use free Arlink undernames, or your build completes in under 10 minutes.
Use CLI When...
Your build output exceeds 10MB, you need custom deployment scripts, you want CI/CD pipeline integration, you need Ethereum wallet deployment, you require Base-ETH payment options, or you want full control over deployment process.
Additional Limitations
Build Environment:
- Standard Node.js environment only
- No custom build tools or dependencies
- Limited environment variable support
- No Docker or custom runtimes
Deployment Features:
- No support for Ethereum wallet signatures
- No custom payment methods (Base-ETH, etc.)
- Limited automation beyond GitHub integration
- No programmatic API access
ArNS Management:
- Cannot create new ArNS names through Arlink
- Must purchase ArNS names separately at arns.app
- Limited undername configuration options
When to Switch to CLI
If you outgrow Arlink's capabilities, all your existing deployments can be managed with permaweb-deploy CLI. See the other guides in this series for CLI deployment instructions.
Continuous Deployment
Arlink automatically sets up continuous deployment when you authorize GitHub access.
How It Works
Arlink adds webhooks to your repository to detect push events. When you push to your configured branch, Arlink automatically triggers a new build and deployment.
git add .
git commit -m "Update homepage content"
git push origin main  # Triggers automatic deployment
Branch-Based Deployments
Configure multiple branches to deploy to different undernames:
| Branch | Undername | Purpose |
|---|---|---|
main | myapp (root) | Production |
develop | staging_myapp | Staging |
feature/* | dev_myapp | Development |
Monitor all deployments in the Arlink dashboard, which shows build status, commit hashes, build logs, and transaction IDs.
For more details on continuous deployment setup, see the Arlink Documentation.
Summary
You now know how to deploy applications using Arlink's visual interface:
- Visual web interface for deploying without command-line tools
- GitHub integration with automated builds and continuous deployment
- Domain options including free Arlink undernames or existing ArNS names
- Build monitoring with real-time logs and progress tracking
- Understanding limitations to choose between Arlink and CLI tools for your project needs
Arlink provides a quick and accessible way to deploy smaller applications. For larger builds, advanced CI/CD, or custom deployments, consider using the permaweb-deploy CLI covered in earlier guides.
In our final guide we'll explore deploying using the ArDrive web UI.
How is this guide?